A sink faucet head is an essential component of your plumbing system, ensuring a smooth flow of water for various tasks. Over time, however, mineral deposits, dirt, and other debris can accumulate, leading to reduced water pressure and even blockages. Learning how to clean a sink faucet head not only ensures better water flow but also helps maintain hygiene and extends the lifespan of the fixture. This guide provides detailed steps and tips to help you clean your sink faucet head quickly and efficiently.
Why Cleaning Your Sink Faucet Head Is Essential
Over time, sink faucet heads collect mineral deposits such as calcium and lime from hard water. These deposits, along with dirt and bacteria, can clog the tiny holes in the aerator, leading to decreased water pressure and an uneven spray. Furthermore, mold and bacteria can thrive in damp environments, posing potential health risks. Regular cleaning ensures optimal functionality, enhances water flow, and prevents the spread of germs. Additionally, maintaining your faucet head can save you from costly repairs or replacements in the long run.
Tools and Materials Needed
Before starting the cleaning process, gather the following tools and materials to make the task seamless:
- White vinegar
- Baking soda (optional)
- A soft-bristle toothbrush or small cleaning brush
- A bowl or plastic bag
- Rubber bands or twist ties
- A small wrench or pliers (if disassembly is needed)
- A microfiber cloth
- Dish soap
Having these items ready ensures that you can clean your sink faucet head effectively without interruptions.
Step-by-Step Guide to Cleaning a Sink Faucet Head
Step 1: Inspect the Faucet Head
Begin by examining your faucet head for visible signs of buildup or blockage. Check the aerator (the small mesh screen at the tip of the faucet) and the spray holes for any deposits or debris. Understanding the extent of the buildup will help you determine whether a simple soaking or a more thorough cleaning is necessary.
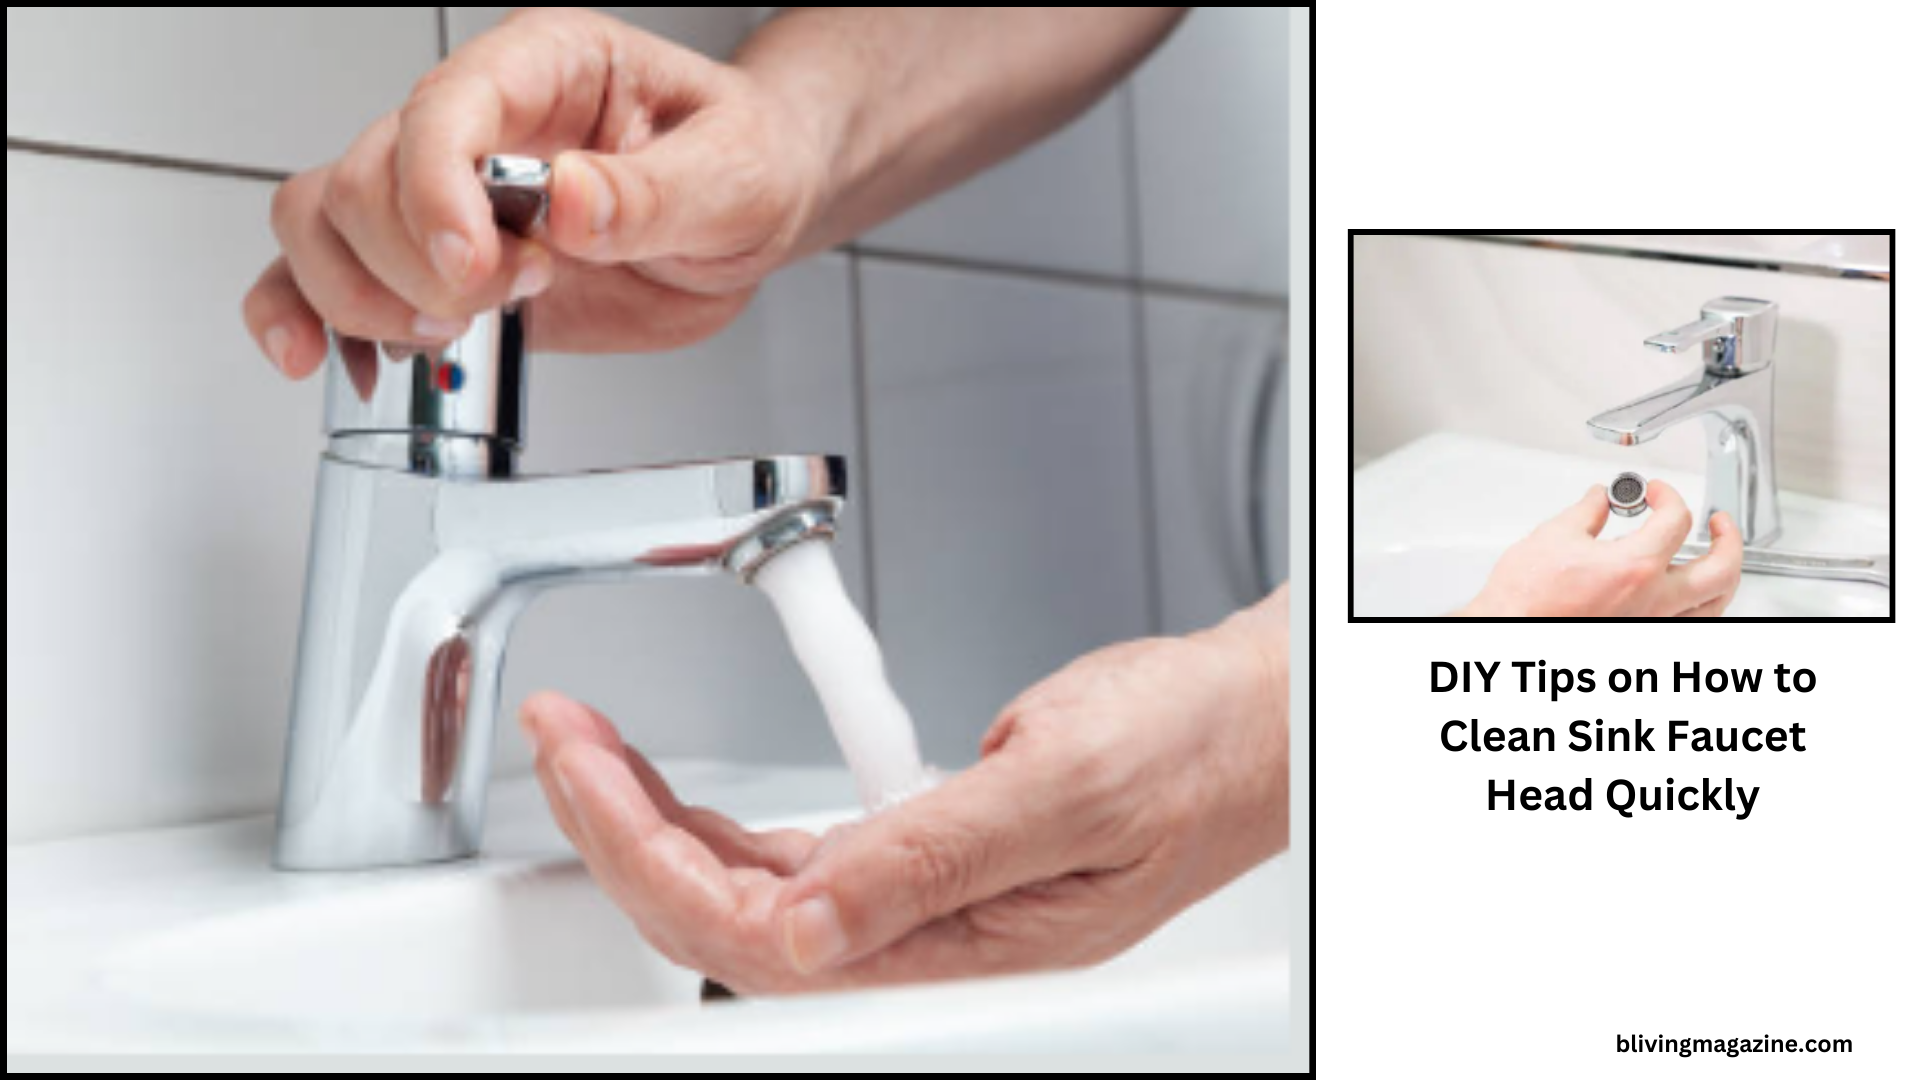
Step 2: Remove the Faucet Head or Aerator
If your faucet head or aerator is detachable, carefully unscrew it using your hand or a wrench. Wrap the wrench with a cloth to avoid scratching the finish. Place the removed parts in a safe location to prevent losing any small components, such as washers or gaskets.
Step 3: Soak in Vinegar Solution
White vinegar is a natural and effective cleaner for removing mineral deposits. Fill a bowl or plastic bag with equal parts white vinegar and water. Submerge the faucet head or aerator in the solution, ensuring it is fully covered. Use a rubber band or twist tie to secure the bag around the faucet if you prefer not to remove the head. Let it soak for 30 minutes to an hour.
For stubborn buildup, you can add a teaspoon of baking soda to the vinegar solution. The fizzing reaction helps loosen tough deposits.
Step 4: Scrub the Faucet Head
After soaking, use a soft-bristle toothbrush or cleaning brush to gently scrub the faucet head, paying close attention to the aerator and spray holes. Avoid using abrasive materials, as they can damage the finish. If any stubborn residue remains, dip the brush in the vinegar solution and continue scrubbing.
Step 5: Rinse Thoroughly
Rinse the faucet head under warm running water to remove any loosened debris and vinegar residue. Check the spray holes to ensure they are clear. If necessary, use a toothpick or a straightened paperclip to gently clear any remaining clogs.
Step 6: Reassemble and Test
Once the faucet head is clean and free of debris, reassemble it by screwing it back onto the faucet. Tighten it securely but avoid over-tightening, as this can damage the threads. Turn on the water and test the flow. You should notice an improvement in water pressure and spray consistency.
Alternative Cleaning Methods
While vinegar is a popular and effective cleaning agent, there are other methods you can try:
- Lemon Juice: Lemon juice works similarly to vinegar in dissolving mineral deposits. Soak the faucet head in lemon juice for a refreshing and natural alternative.
- Commercial Cleaners: Many store-bought cleaners are designed specifically for removing lime and calcium buildup. Follow the manufacturer’s instructions for the best results.
- Dish Soap and Water: For mild cases of dirt and grime, a mixture of warm water and dish soap can be sufficient. Scrub gently with a brush and rinse thoroughly.
Preventative Maintenance Tips
Keeping your sink faucet head clean doesn’t have to be a time-consuming chore. Regular maintenance can help prevent significant buildup:
- Clean Monthly: Incorporate faucet head cleaning into your regular cleaning routine to prevent deposits from accumulating.
- Install a Water Softener: If you live in an area with hard water, consider installing a water softener to reduce mineral buildup.
- Use a Filtered Aerator: A filtered aerator can trap debris and impurities before they reach the faucet head, making cleaning easier.
- Wipe After Use: After using the sink, wipe the faucet head with a microfiber cloth to remove water droplets and prevent mineral stains.
Common Mistakes to Avoid
When cleaning your sink faucet head, avoid the following mistakes to ensure a successful outcome:
- Using Harsh Chemicals: Strong chemicals can damage the finish of your faucet and harm the environment. Stick to natural or mild cleaning solutions.
- Neglecting Regular Cleaning: Waiting until the faucet head is completely clogged makes cleaning more difficult and time-consuming.
- Using Abrasive Tools: Abrasive brushes or scouring pads can scratch the surface of your faucet, compromising its appearance.
Also Read: How to Clean Faucet Head and Remove Hard Water Deposits
Conclusion
Cleaning a sink faucet head is a simple yet important task that enhances water flow, maintains hygiene, and prolongs the life of your plumbing fixture. With the right tools, materials, and techniques, you can easily tackle mineral deposits and dirt buildup. Regular maintenance and preventative measures ensure that your faucet remains in excellent condition for years to come. Follow the steps and tips outlined in this guide to keep your sink faucet head clean and functional effortlessly.